This strawberry cake with kiwi is a fresh take on my mom’s original recipe.
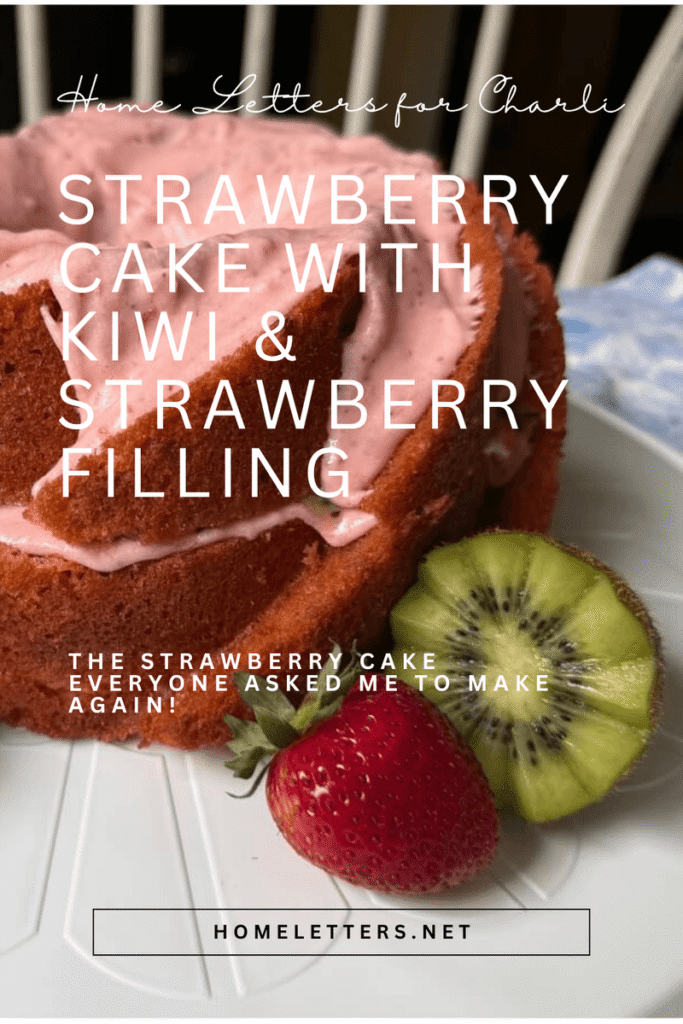
Whenever my mom made her strawberry cake, everyone knew it was going to be a good day. The bright pink cake layers, the fluffy strawberry frosting, and the unmistakable berry flavor made it feel like a celebration before anyone had even cut the first slice. I asked for it every summer growing up, and somehow it never lost its magic.
Over the years I’ve seen plenty of versions of vintage strawberry cake recipes made with cake mix, strawberry gelatin, and frozen strawberries. Maybe my mom put her own spin on it, or maybe it simply became our version through years of birthday parties, family dinners, and summer gatherings. Either way, it has always been one of those recipes that feels like home.
A Small Update to a Family Favorite
One thing has changed over the years though, and surprisingly, it isn’t the recipe.
Boxed cake mixes have quietly gotten smaller. If you’ve been baking long enough, you’ve probably noticed it too. The original proportions that worked beautifully years ago can leave today’s cakes feeling just a little denser and a bit more artificial tasting than I remember.
After making this recipe several times, I found that adding a few tablespoons of flour and a tablespoon of sugar brings the balance back. The cake bakes with a softer crumb, stays wonderfully moist, and lets the strawberry flavor shine instead of competing with it. It’s a tiny adjustment that makes a noticeable difference while still honoring the original recipe.
The Addition That Changed Everything
Recently I made this cake for a dear friend’s birthday.
She isn’t a chocolate fan. I know, I know. We still love her.
Since strawberries were in season, I decided to add something new by layering fresh diced strawberries and kiwi between the cake layers before frosting the outside.
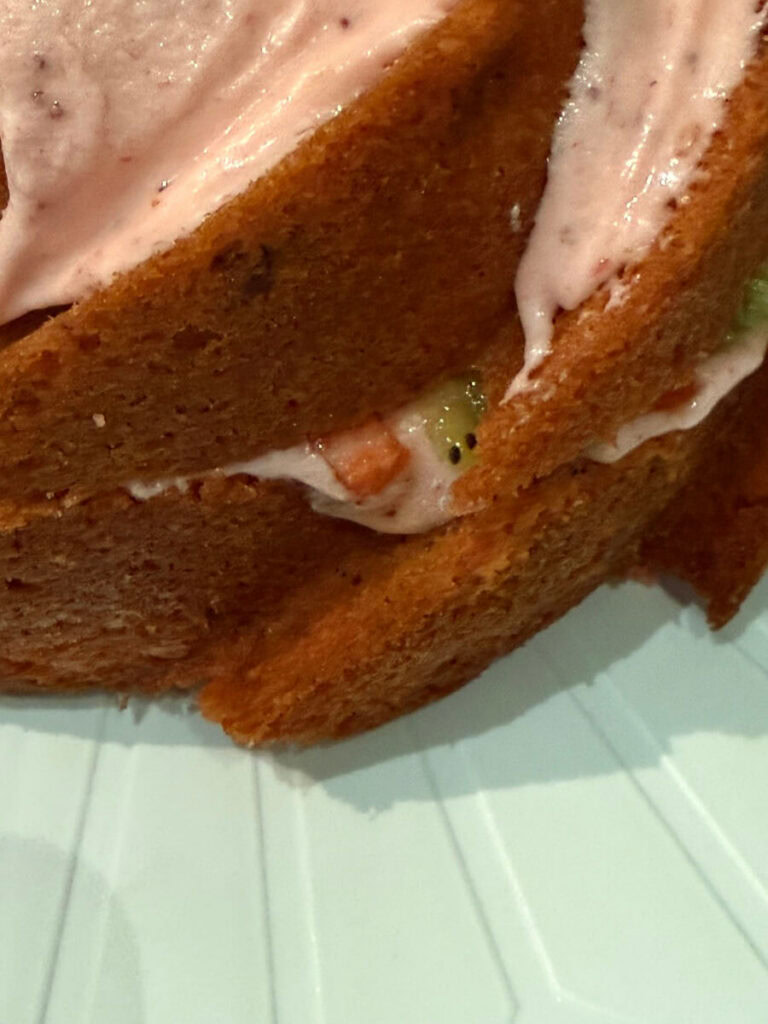
It turned out to be one of those happy kitchen experiments that everyone immediately asked about.
The fresh fruit adds just enough brightness to balance the sweet strawberry frosting without overpowering it. Every slice feels lighter, fresher, and just a little more special.
I liked it so much that I made another one almost immediately for my own family.
The verdict was unanimous – “Make this again.”
When my daughter-in-law announced that it had become one of her favorite desserts, I figured the recipe had officially earned a permanent spot in the family collection.
My friend’s reaction? She loved the flavor and moist crumb but added “not enough frosting!” (I had only used half of the frosting on her cake – next time she gets it ALL).
I suspect there will be quite a few more pink cakes in our future.
Why You’ll Love This Strawberry Cake Recipe
- Starts with a simple cake mix
- Soft, moist strawberry cake
- Fresh fruit makes every bite taste brighter
- Easy enough for beginning bakers
- Perfect make-ahead dessert
- Beautiful for spring and summer entertaining
Perfect for Almost Any Celebration
This cake feels right at home anywhere people are gathered around a table.
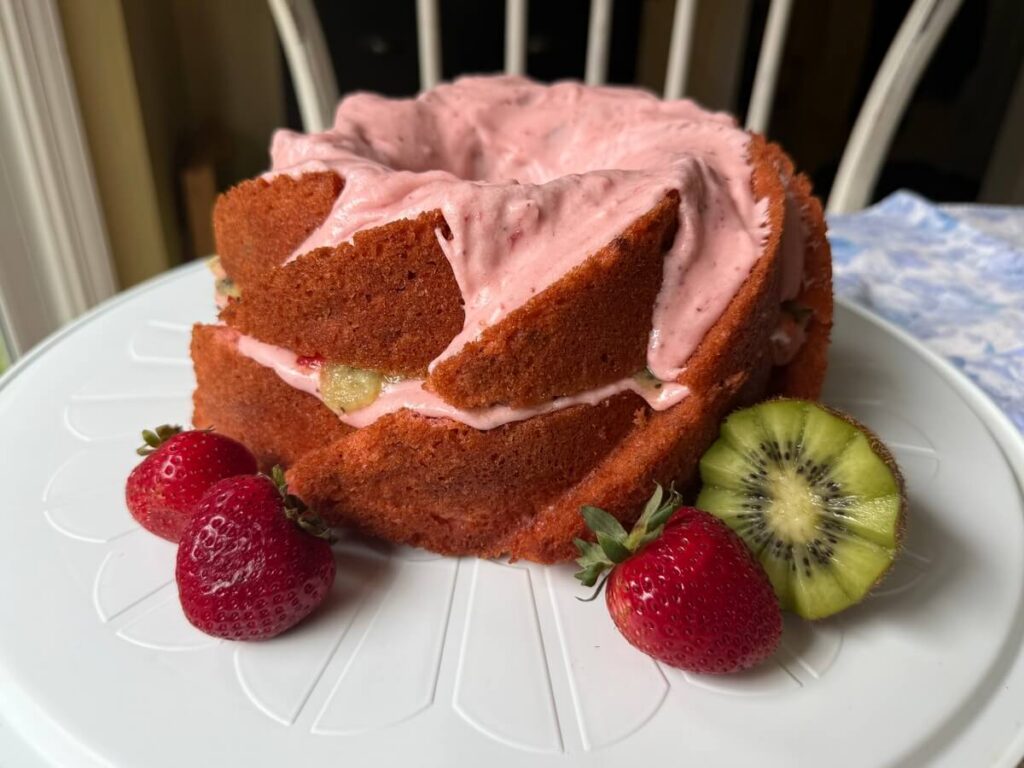
This strawberry cake with kiwi and strawberry filling would be beautiful for Easter brunch, Mother’s Day, baby showers, bridal showers, birthdays, graduation parties, or simply a summer dinner when berries are at their best. The soft pink frosting and fresh fruit make it look impressive without requiring complicated decorating skills.
You could use fresh strawberries (instead of the frozen) to make the puree – in this case wash and slice your strawberries, then sprinkle in sugar and let them sit for about 15 minutes to macerate. This will draw the liquid out of the fruit, soften the berries, and create a sweet, juicy syrup. Once macerated, you can puree as you would with the frozen berries. I find using the frozen is just a little bit easier.
A stand blender or immersion blender makes quick work of the strawberry puree for the frosting, but otherwise this is a wonderfully approachable cake that doesn’t ask much from the baker.
My go-to blender is still my Vitamix. It is powerful and easy to use and clean. Then there is my beloved Cuisinart “stick” handheld blender. Either the stand or immersion blender makes quick work of blending the thawed strawberries into a luscious puree.
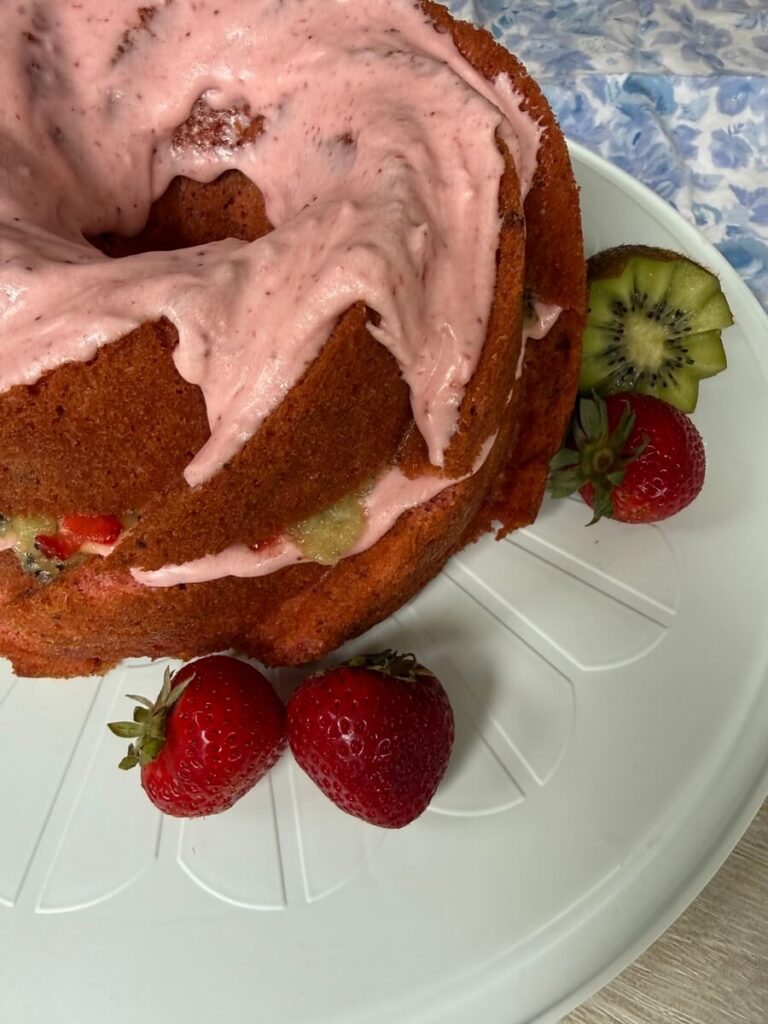
Sometimes the best recipes aren’t the fanciest ones.
They’re simply the ones that become part of your family’s traditions.
I have a feeling this strawberry cake with kiwi and strawberry filling will continue to be part of ours for many summers to come.
If You Enjoyed This Recipe…
Layered Chocolate Chip Cookie Cake
Strawberry Cake with Kiwi & Strawberry Filling
This Strawberry Cake with Kiwi & Strawberry Filling updates a treasured family recipe with a few small improvements for today's cake mixes and a layer of fresh fruit that makes every bite taste like summer.
Ingredients
Cake:
Filling:
Frosting:
Instructions
-
Put all cake ingredients together in mixing bowl and mix it with a hand mixer on low speed
-
Pour cake batter into greased and floured pans (two 8 in or 9 in rounds, or one tube or bundt cake pan - Mom preferred a tube pan).
-
Bake at 350° about 30 minutes or until a toothpick inserted into the center comes out clean. Cool layers.
-
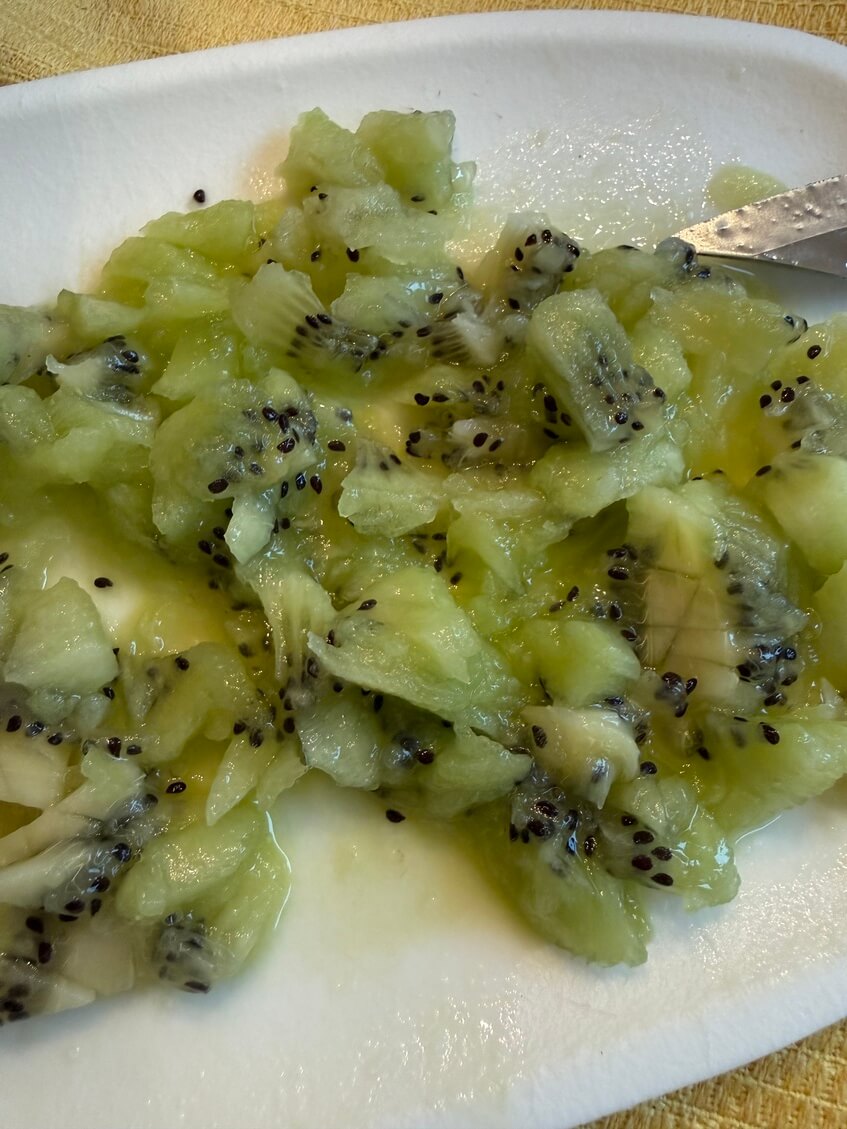
While cake is baking, dicer your strawberries and kiwi for the filling and mix together. Set aside.
-
Mix all frosting ingredients together at high speed using your hand mixer. Don't add all of the strawberry at once - you can add in gradually to get the consistency you like.
-
When cake is cooled: If using 8 or 9 in rounds, slice a thin layer off the top of one cake to give an even surface - this will also open up the crumb so that the fruit juices can soak through. If using a tube or bundt cake, slice horizontally through the middle to create two layers and set the top layer aside (see note).
-
Spread your fruit filling across the top of the bottom layer. Drizzle any juices left in your bowl on top so that they can soak into the cake. You may choose to also drizzle some of your frosting on top of the fruit.
-
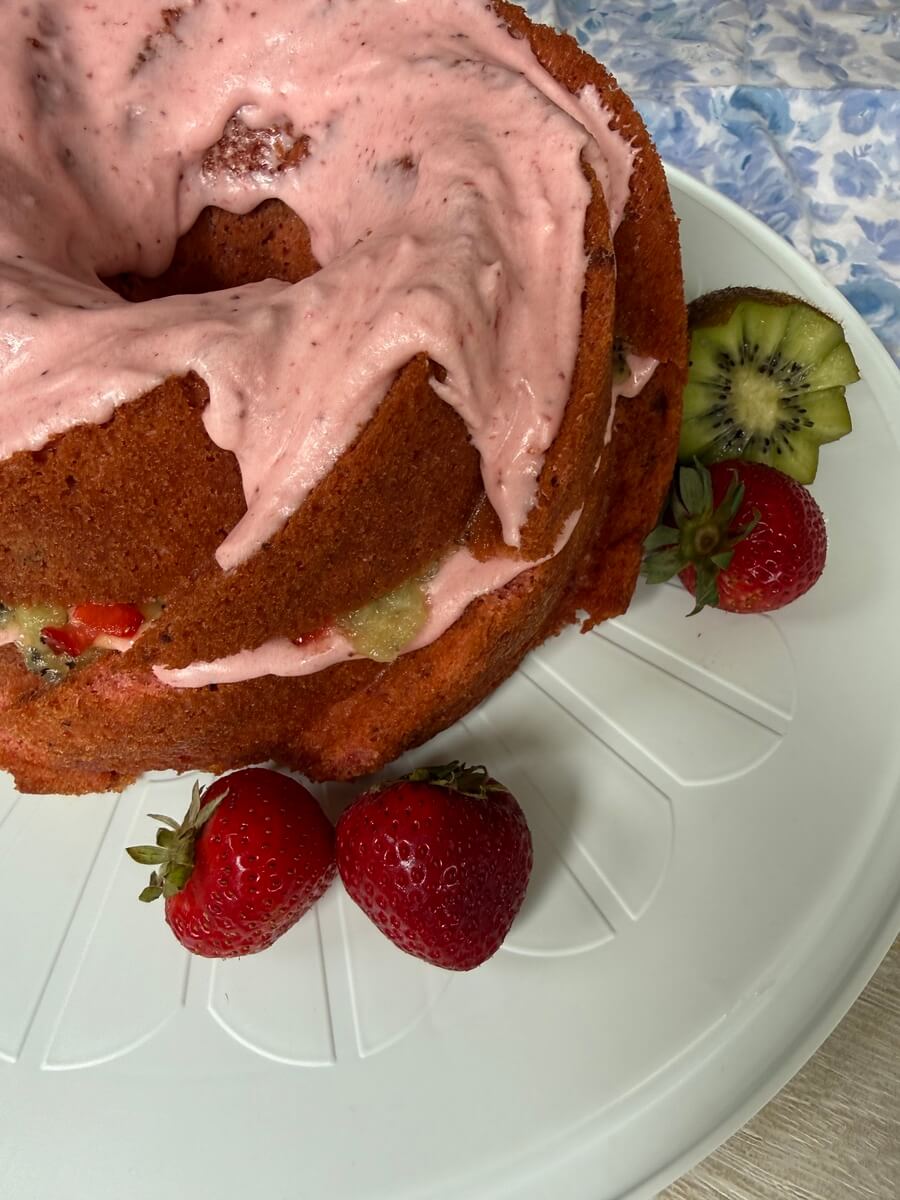
Once your fruit filling layer is to your liking, place the top layer of cake over it. Spread the frosting over the cake (or just on the top, as I did in the pictures).
-
Decorate just before serving with fresh fruit slices.
Note
If using a tube or bundt cake pan, it can be tricky to cut a layer and then get the top layer to match back up to the bottom layer. No matter how careful I am in the cutting, it can come out lopsided, and if I don't match it back up properly it makes for an odd looking cake shape!
To avoid this, before cutting, stick two toothpicks, one above the other, about an inch apart, halfway up the side of the cake. Place your knife between these toothpicks and cut your layer. Remove the top layer, put your filling on the bottom layer, then place the top layer so that the toothpicks line up again. Voila! Your layers will now match up properly.